Recently i dropped my Misphere 360 camera. I was lucky, the lens didn’t break. The coating was damaged though and it ruined some nice shots. A big part of the central image was blurry. When this part covered a face or something with interesting details, the image was unusable. I don’t use the camera for jobs, but its also sad to loose private images.
So i thought, maybe i can polish the lens. I wouldnt try that with a high quality lens, but in this case i hadn’t much to loose.
I checked for tutorials, how to polish a lens. There is not much to find, as indeed no one would polish a good lens normally.
Some people used toothpaste, or car polish. The most promising try i found on the website of Markus Keinath. He used a sisal wheel on drilling machine with car glass polish to remove the coating completely. Apperently this worked for him.
So i thought, maybe i can do it a bit more gentle. I looked for special glass polish and found the „GP-Pro Glass Polishing Compound“ online.
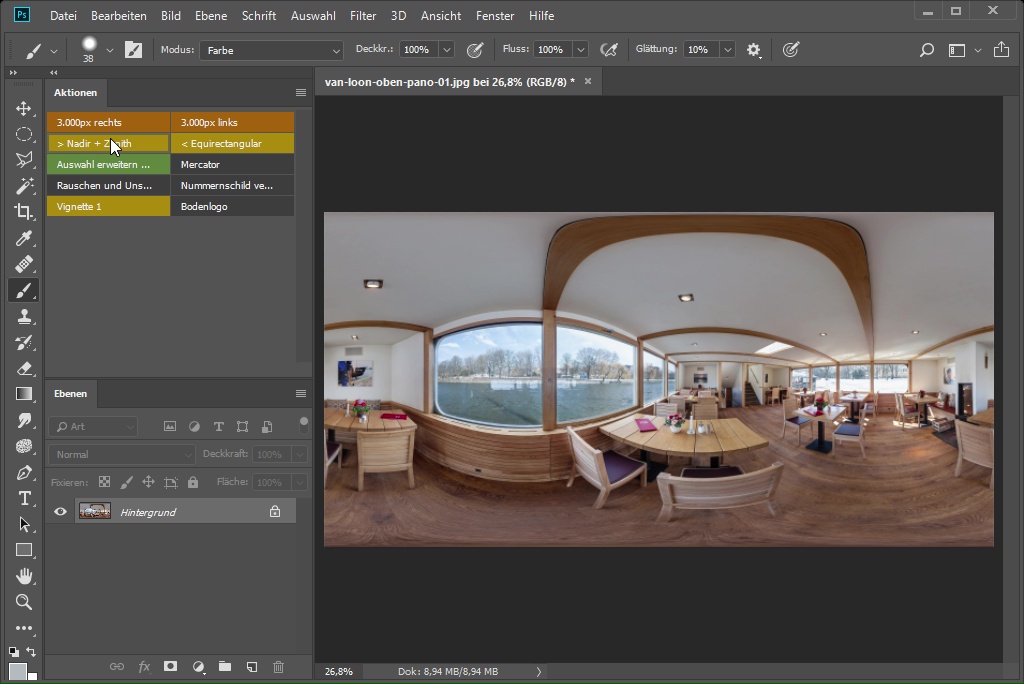
In the video below, you can see, how i aplly this cream onto the lens of the misphere 360. I also added before and after pictures for you to compare. The pictures a re not the same, but you still can see the difference. For me this worked well; the bad area is reduced a lot after polishing just a couple of minutes. I will maybe give it another rund and try to make it even better.
Here you can see the results: the left image is from before the polishing and the right one i shot afterwards.
Next time i will do this, i will also try this method. Seems perfectly possible with fisheye lenses!

Neueste Kommentare